Gravel driveways offer a blend of aesthetic charm and practicality, making them a favoured choice for some homeowners. This comprehensive guide delves into their cost-effectiveness and natural appearance to the intricacies of installation and upkeep. Whether you are considering a new gravel driveway or seeking to maintain an existing one, this article provides valuable insights into making the most of this popular driveway option.
Pros of Gravel Driveways
- Affordability: Gravel is one of the most cost-effective driveway materials. It’s cheaper than concrete, asphalt, and pavers.
- Easy Installation: Installing a gravel driveway is relatively straightforward and can often be completed in a day or two by homeowners, depending on the size, therefore reducing labour costs.
- Permeability: Gravel allows water to drain through, reducing runoff issues that can occur with non-permeable surfaces like concrete or asphalt.
- Maintenance: Regular maintenance usually involves just adding more gravel and levelling it out as needed. This can be easily done by the homeowner.
- Aesthetic Appeal: Gravel has a rustic, natural look that can blend seamlessly into the surrounding landscaping, especially for properties in rural or wooded areas.
- Flexibility: It’s easy to modify or expand a gravel driveway, unlike more permanent surfaces.

Cons of Gravel Driveways
- Maintenance Frequency: While maintenance is straightforward, it needs to be done more frequently compared to other materials. Gravel can shift, spread, and decrease in depth, requiring regular raking and replenishing.
- Weed Growth: Weeds can grow through gravel unless a proper weed barrier is put in place underneath.
- Snow Removal: Removing snow from a gravel driveway can be challenging as plows and shovels can displace the gravel.
- Ruts and Potholes: Over time, the weight of vehicles can cause ruts and potholes in a gravel driveway, requiring periodic levelling and filling.
- Dust and Muddy Conditions: In dry weather, gravel can produce dust. In contrast, in wet conditions, it can become muddy, especially if the driveway isn’t well-drained.
- Vehicle Wear and Tear: Loose gravel can get thrown up by tires, potentially damaging the undercarriage or paint of vehicles, or nearby structures.
- Not Ideal for Sloped Areas: On steep slopes, gravel can easily shift, causing uneven surfaces and requiring frequent maintenance.
How to Make a Gravel Driveway
Creating a gravel driveway is a manageable project for a determined DIY enthusiast. It requires some physical labour and access to a few tools and materials. Here’s a detailed step-by-step guide:
Planning and Preparation
- Measure the Area: Determine the length and width of your driveway. This will help in estimating the amount of materials needed. You can use our cubic feet to yard landscape calculator to help you assess.
- Choose the Gravel: When selecting gravel for a driveway, a multi-layered approach using different sizes for each layer is generally recommended for optimal stability and drainage. The type of gravel is also important, with options like crushed stone, pea gravel, or stone dust offering various textures and colors. Choosing a color that complements your home and landscape can enhance the overall aesthetic appeal. Additionally, opting for locally available gravel is more cost-effective and environmentally friendly.
- Check for Utilities: Ensure there are no underground utilities where you plan to dig. If you’re in Regina, contact Sask 1st Call.
- Get Necessary Permits: Some localities require permits for driveway construction. Check with your local government.
Marking the Area
- Outline the Driveway: Use stakes and string, or landscape marking paint to mark the boundaries of your driveway.
- Consider Drainage: Ensure the driveway has a slight slope for water drainage. Plan for a slope of at least 1% away from any structures.
Excavation
- Remove Topsoil: Excavate to remove about 7 to 8 inches of the topsoil from the marked area to. This depth accommodates the gravel and provides a sturdy base.
- Compact the Soil: Use a soil compactor to compact the subsoil. This provides a stable base for the gravel. You can usually rent a plate compactor from your local home improvement store.
Edging
Install Edging: Place edging materials like metal, wood, or stone along the driveway’s sides. This helps to keep the gravel in place and maintain the driveway’s shape.
Laying the Foundation
- Install a Weed Barrier: Lay down landscaping fabric to prevent weed growth.
- Add the Base Layer: Fill the excavated area with a base layer of larger crushed stone, about 3-4 inches thick. This layer should be compacted as well.
Adding the Gravel
- Spread the Gravel: Add the gravel in layers, compacting each layer before adding the next. You might start with a layer of medium-sized gravel, then finish with a layer of smaller gravel or stone dust for a smoother surface.
- Level the Gravel: Ensure the surface is even and the desired thickness is achieved. Typically, you should aim for about 4 inches thick for this layer.
How to Maintain a Gravel Driveway
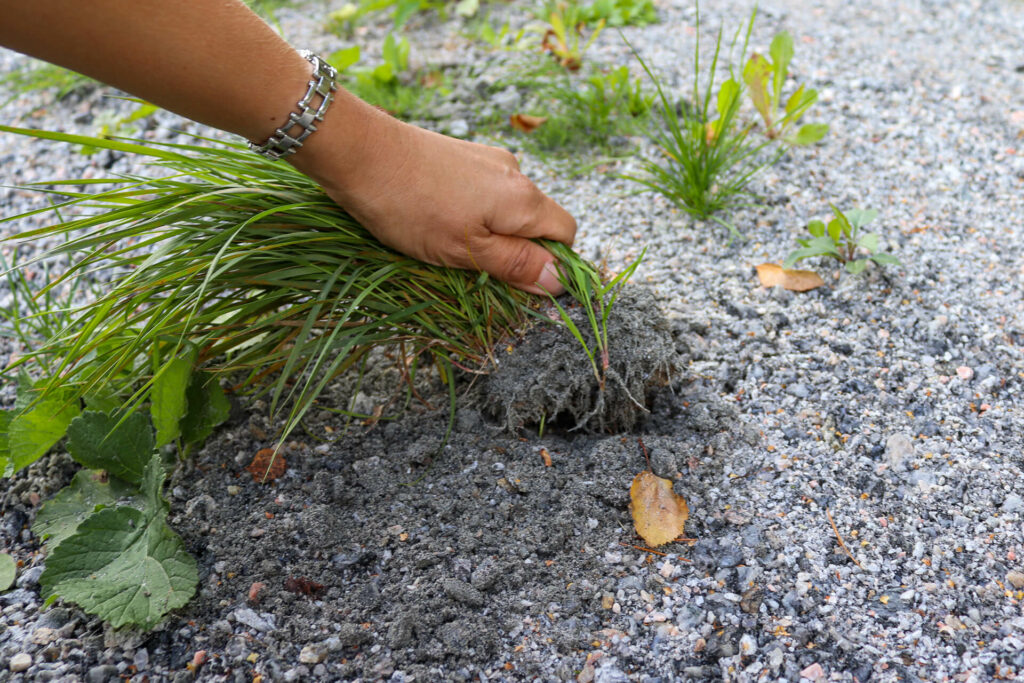
Weed Control
Regularly inspect and remove weeds from the driveway, and consider using environmentally safe weed killers that won’t harm nearby plants. Installing a weed barrier fabric during the driveway’s initial setup can also significantly reduce weed growth.
Remove Leaves
Allowing leaves to accumulate can lead to the formation of soil as they decompose, encouraging weed growth and potentially affecting drainage. They should be removed regularly, especially during fall, using a leaf blower.
Raking
Periodically rake the gravel to level the surface and redistribute any displaced gravel. This not only keeps the driveway looking neat but also helps prevent the formation of ruts and potholes, which can be detrimental to the driveway’s integrity.
Filling Potholes
Fill any potholes with fresh gravel as soon as they appear, and compact this area to ensure it’s level with the rest of the driveway. This quick action can prevent small issues from becoming larger, more complicated ones.
Replenishing Gravel
Over time, the gravel in your driveway will compact and may thin out. It’s important to replenish the gravel layer, typically every one to two years, ensuring that the top layer maintains its desired thickness, usually around 4 inches. This not only keeps the driveway functional but also maintains its aesthetic appeal.
Drainage Maintenance
Drainage is a critical aspect of gravel driveway maintenance. Proper drainage prevents water accumulation, which can lead to potholes and erosion. Keep ditches, drains, or culverts clear of debris to ensure efficient water flow and prevent water-related damage.
Edge Trimming
Regularly trim any overgrowth and keep the edges clear of grass and plants. This not only enhances the driveway’s appearance but also prevents plants from encroaching on the gravel surface.
Conclusion
In this article, we’ve explored the nuanced aspects of choosing, installing, and maintaining a gravel driveway. From the types of gravel to the practical steps of installation and the importance of regular upkeep, this guide provides a thorough understanding for homeowners considering a gravel driveway. Balancing aesthetics, functionality, and environmental considerations, gravel driveways stand out as a versatile, practical choice for many properties.