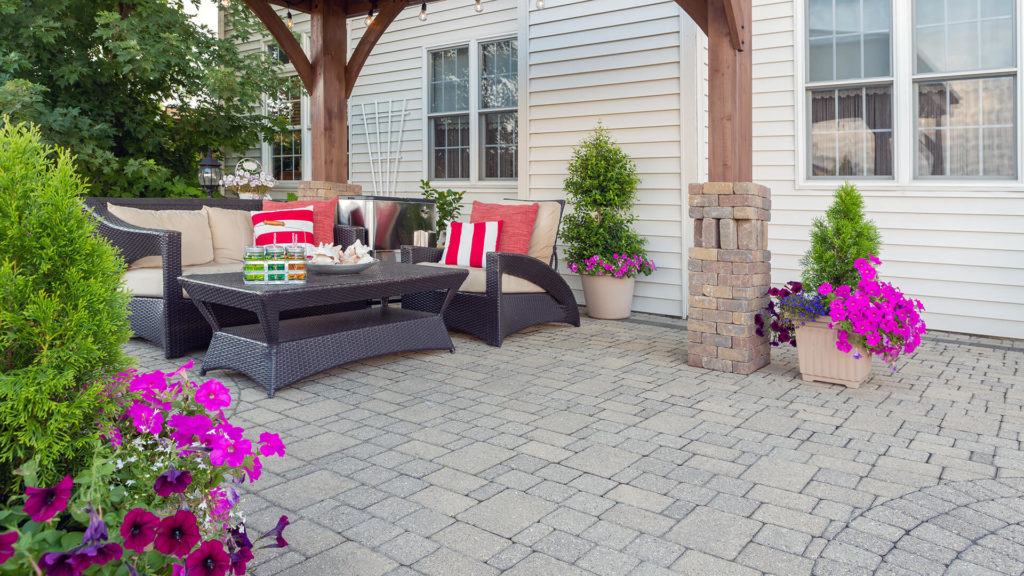
Creating a pea gravel patio in your backyard offers a blend of natural beauty and practical functionality. This comprehensive guide delves into the pros and cons of choosing pea gravel, also known as pea rock or washed rock, over other materials and provides a step-by-step approach to building your own pea rock patio. Whether you’re a seasoned DIY enthusiast or a beginner in home improvement, this article will equip you with the necessary knowledge to transform your outdoor space into a serene and inviting area using pea gravel, a material renowned for its cost-effectiveness and rustic charm.
Pros & Cons of Pea Gravel Patio
Pea gravel patios stand out for their cost-effectiveness, making them a highly budget-friendly option compared to alternatives like pavers, concrete, or natural stone. The ease of installation is another significant advantage; homeowners can undertake this as a DIY project without needing specialized tools or skills. Aesthetically, pea rock offers a natural, rustic charm that blends seamlessly with outdoor garden environments. Additionally, its excellent drainage capabilities prevent water pooling and ensure a dry surface, a feature that is not as efficient in solid materials like concrete.
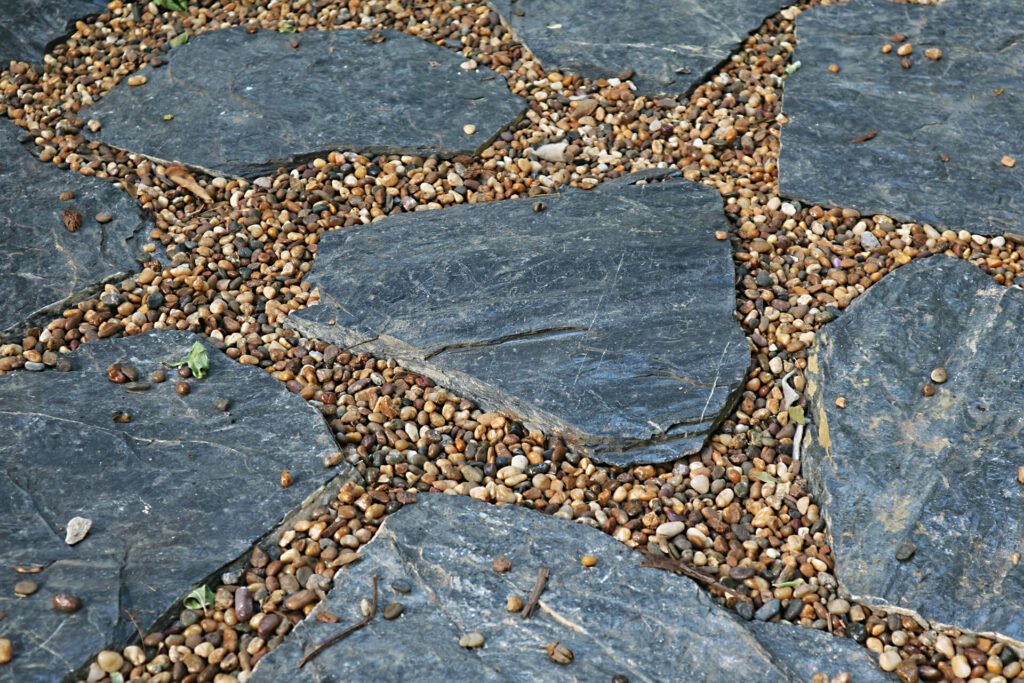
Despite its advantages, pea gravel patios come with some drawbacks. The surface requires regular raking to maintain its evenness and periodic top-up as the gravel settles or disperses. The loose nature of pea rock can affect stability, making it less suitable for areas that require stable surfaces, such as for furniture placement or accessibility. Also, pea gravel can spread outside its designated area, necessitating occasional clean-up, which is not an issue with more solid patio materials like pavers or concrete. However, some of these issues can be mitigated by installing large pavers in-between and better edging.

Materials Needed
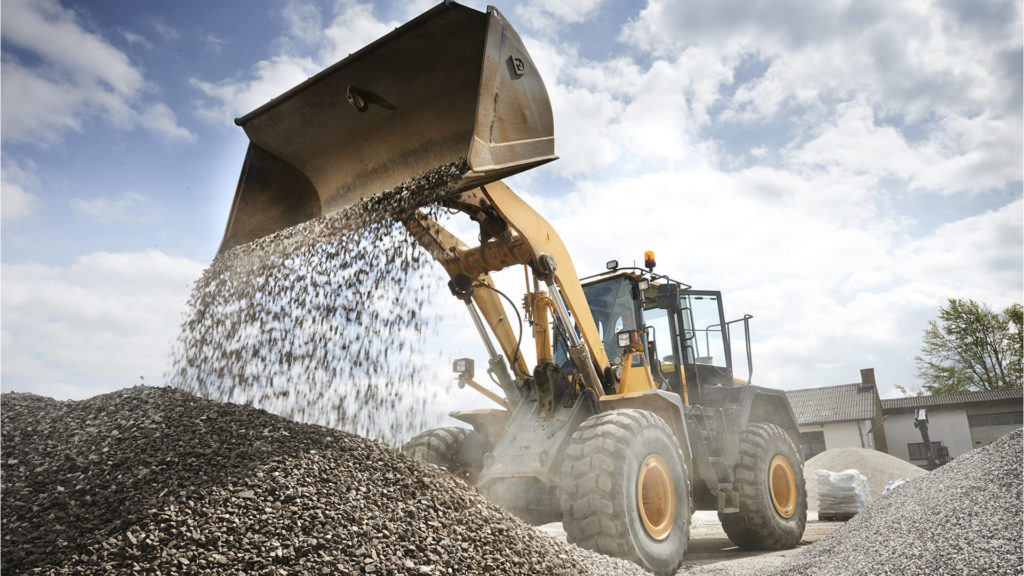
- Pea Gravel: It’s more cost-effective to source it from your local sand & gravel company instead of big box garden centres.
- Landscape Fabric & Pins: To prevent weed growth and gravel mixing with the soil.
- Edging Material: Choose from steel, plastic, or wood to define your patio’s boundaries.
- Tools: Shovel, rake, tamper, wheelbarrow and level.
- Crushed Stone (Optional): This is for the base layer, which is recommended for stability.
- Pavers (Optional): Opt for large pavers as they are more stable. You will also need a rubber mallet.
1. Planning and Design
Consider the patio’s purpose and the type of furniture you’ll use, which influences the size and shape. Mark the area where you want your patio with marking paint or twine, measure the dimensions, then use our landscape calculator to estimate how many yard of materials you need.
2. Site Preparation
Remove grass and other vegetation. Use a spade or a sod cutter for larger areas. Dig out the soil to a depth of about 4-6 inches, this depth allows enough room for the base material and pea gravel while ensuring the patio is level with its surroundings. A base layer is recommended for stability, but optional. If you are skipping the base layer, you only need to dig 2-3 inches. Rake the area to remove rocks and debris, ensuring a smooth, even surface. For areas where you plan to install pavers, this depth may need to be increased depending on paver thickness.
3. Compacting the Subsoil
Compact the subsoil with a hand tamper or plate compactor to create a stable base.
4. Base Layer (Optional)
Add a 2-3 inch layer of crushed stone and road based gravel and compact it thoroughly.
5. Landscape Fabric
Roll out landscape fabric over the compacted soil or base layer to inhibit weed growth. Cut it to fit your space and use landscape fabric pins to secure it. Overlap any seams by at least 6 inches.
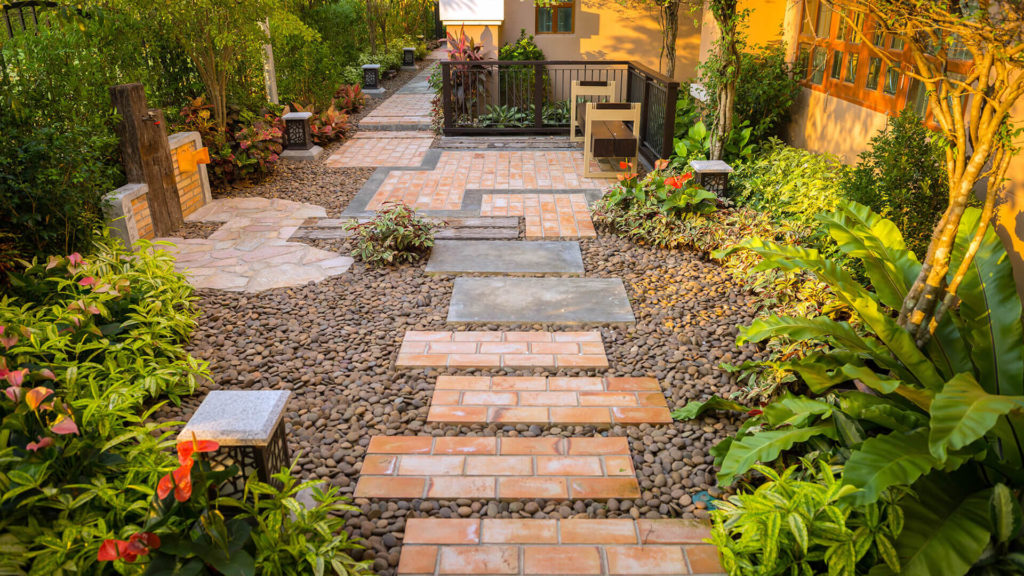
6. Installing Pavers (Optional)
Place the pavers in the desired pattern and location. For stability, it’s advisable to embed the pavers slightly into the base layer by hitting them with a rubber mallet, but not so hard to damage them. Use a level to ensure each paver is even and stable.
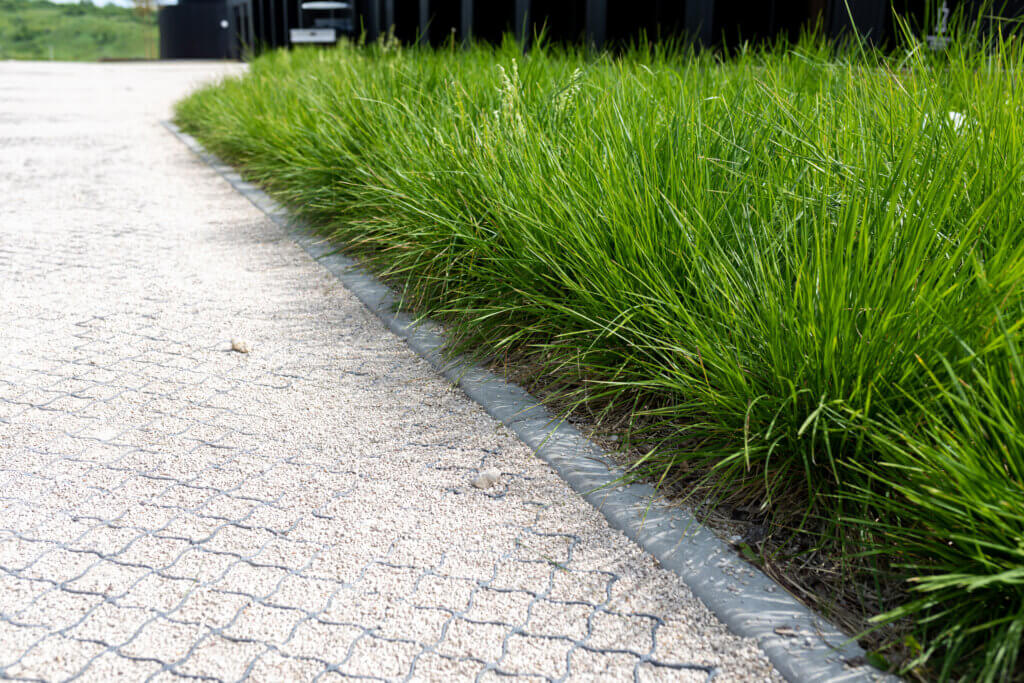
7. Effective Edging
For edging, metal or rigid plastic edging is highly effective in containing pea gravel. Install the edging deeper into the ground, ideally at the same depth as your base layer, to prevent gravel from escaping underneath. Secure the edging firmly in the soil.
8. Spreading the Material
Pour the pea gravel, filling around and between the pavers. Aim for a consistent depth of about 2 inches of gravel over the entire area.
9. Final Touches
Compact the pea gravel lightly. Check and adjust the level of gravel, ensuring it’s slightly below the top of the pavers for easier walking and furniture placement. Once done, wash the patio with water to remove dust and reveal its true colours.
Maintaining Your Pea Gravel Patio
Regularly rake the gravel to keep it even and clean. Replace displaced gravel as needed.
Conclusion
In conclusion, building a pea gravel patio is an accessible and rewarding DIY project that enhances outdoor living spaces with its natural aesthetics and versatility. This article outlines the key advantages of pea rock, such as affordability and ease of installation, alongside potential challenges like maintenance and stability. It also provides a detailed guide on the materials needed and the steps involved in creating a pea gravel patio, including optional enhancements like large pavers for added stability and effective edging to contain the gravel. With regular maintenance and thoughtful planning, a pea rock patio can be a durable, attractive, and functional addition to your home.