A gravel garden is a unique and attractive landscaping option that is becoming increasingly popular. In this article, we will explain this particular gardening practice, and its advantages, and provide a step-by-step guide on how to create a beautiful gravel garden of your own.
What is a Gravel Garden?
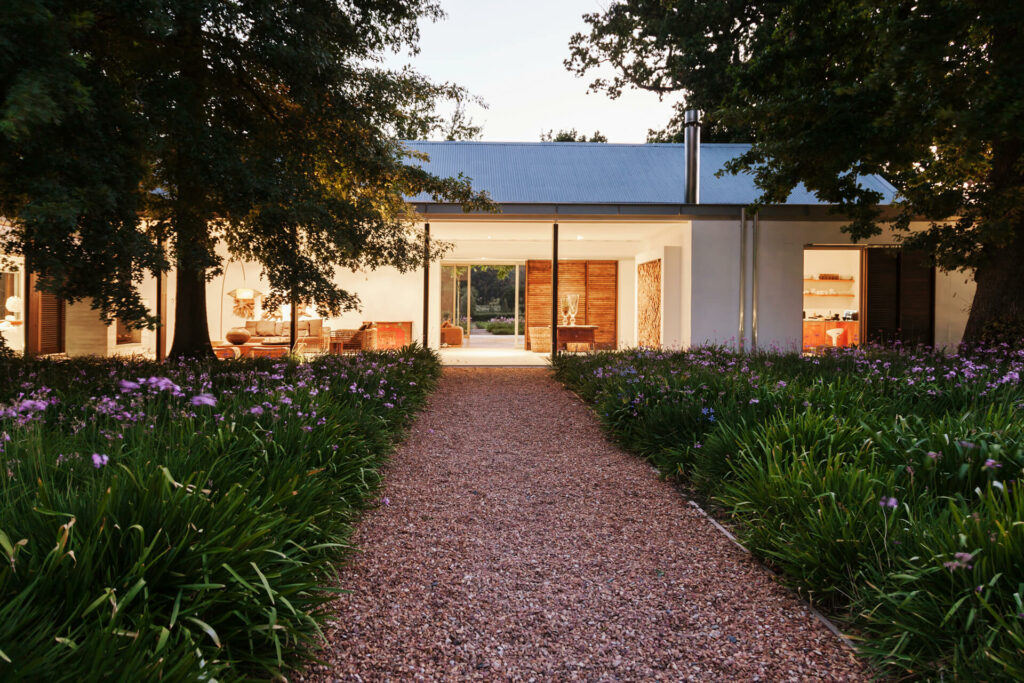
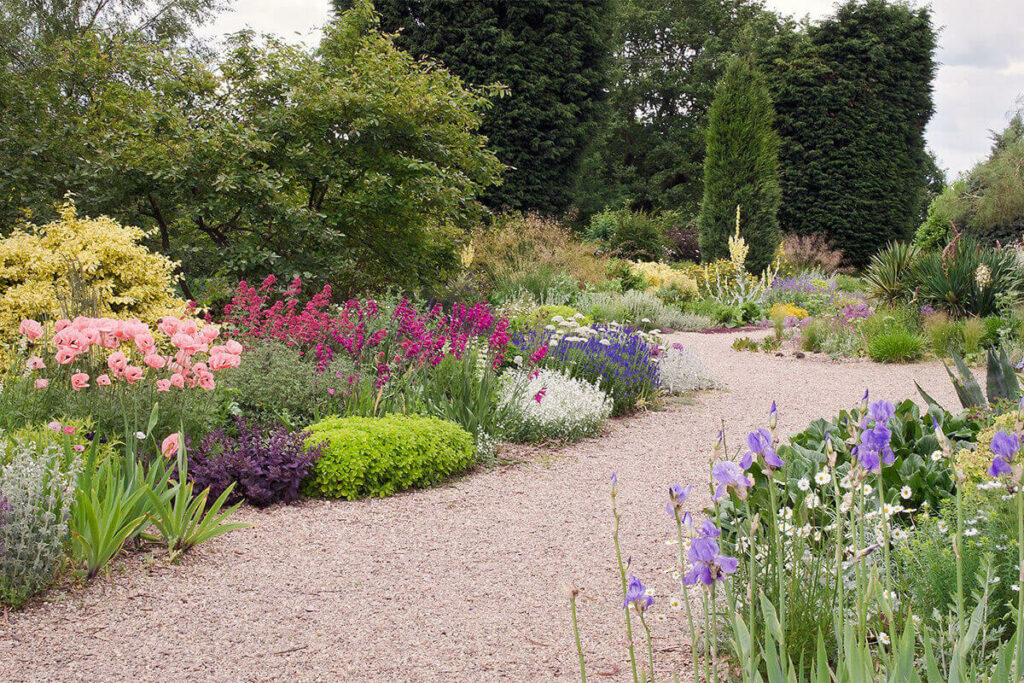
When hearing the word gravel garden for the first time, one might picture a rock-filled yard devoid of plants, but that’s not the case. Similar to xeriscaping, it is a gardening practice that requires very little maintenance and uses little water; therefore, they share many of the same principles, even though they were originally developed for different climates. Xeriscaping was made popular in hotter, dryer regions where water is scarce and evaporates quickly. Gravel garden, on the other hand, was born from making the most of dry climate and bad soil, which is often rocky or sandy. While xeriscaping encourages the use of organic mulch, gravel gardens utilize, as you might expect, gravel as mulch.
Benefits of a Gravel Garden
For starters, it requires minimal soil amendment and watering, and once established, requires very little effort to maintain, making them a great choice for those in dry climates and don’t have good soil. Additionally, being low maintenance also means more affordable, since money does not need to be spent on water, fertilizer, fuel, and other landscaping supplies, which also means it’s more eco-friendly. Furthermore, having a nonconventional garden can make your home stand out from your neighbours.
How to Make a Gravel Garden
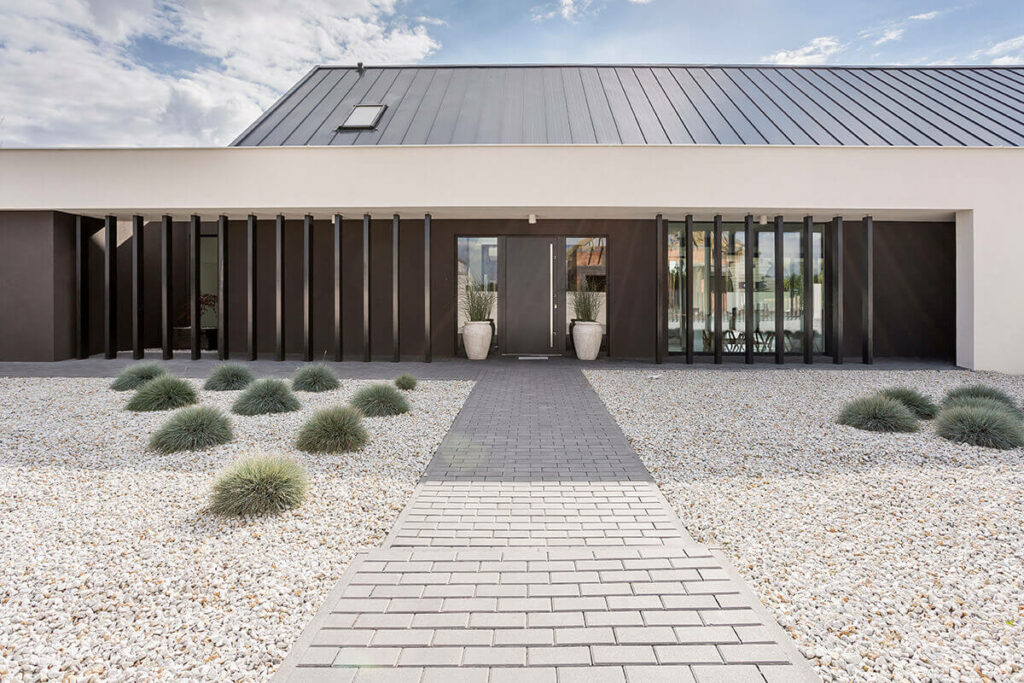
- Start by finding the right location for your gravel garden. It does not have to take up the entirety of your yard, and can coexist with other landscaping features such as a lawn turf and vegetable garden, but do choose an area that gets a good amount of sunlight with decent drainage. Measure the area and transfer the measurements onto a piece of paper or computer software, this helps you visualize your design.
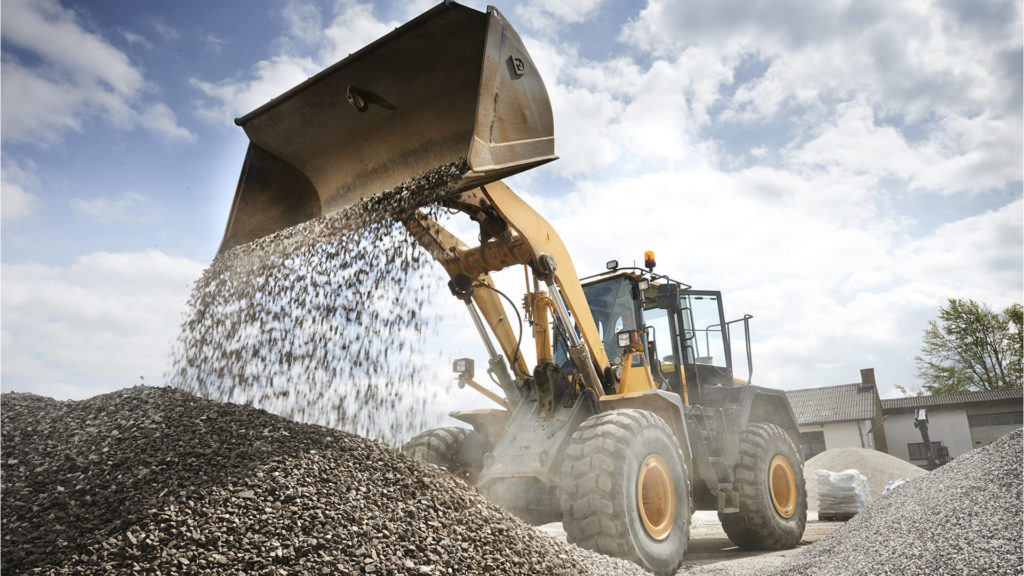
- This is the step where you figure out where your plants and decorative features go. You can look for inspiration online and play with various design ideas, such as dividing the site into sections to be filled with gravel of different colours. Plants should be spaced according to their mature size, usually between 10 to 15 inches, but could be further if you’d like to showcase the aesthetics of gravel. Afterwards, estimate how many materials you might need using our landscape calculator. After the planning is done, you can then mark the perimeters in your yard with spray paint, or with stakes and strings.
- Prepare the site by removing any weeds, stones, and mulch. You could do this mechanically or with herbicide, though the former option would be better for the environment.
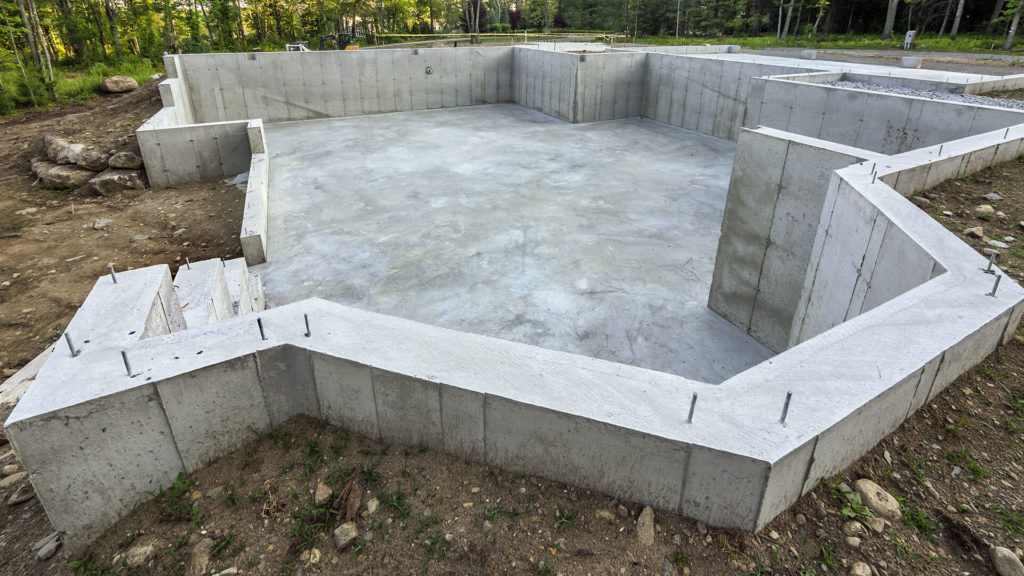
- If you are not creating the garden on a raised bed, you will need to dig down approximately 4 inches for the gravel to sit on. The depth needs to be consistent throughout. Too deep, plants won’t grow, too shallow, weeds will. If you’d like to take this opportunity to amend the soil underneath, dig down another 4 inches and backfill with amended soil. While excavating up to 12 inches is generally safe, it is still a good idea to contact your local call-before-you-dig organization.
- The next step is to install edging to keep the gravel in place, and also to give it a more finished look. You can use rocks, bricks, lumber or other synthetic materials for this. If you would like to further prevent weed growth, now would be the time to add a layer of landscaping fabric.
- This is the step where your gravel garden starts to take shape because you’ll be filling the hole you dug with gravel. We recommend using washed pea rock, but any gravel between 1/4 to 3/8 inch will do. Use a rake to spread the gravel evenly throughout the garden.
- Allow the garden to settle for a couple of weeks before moving on to the next step. You can use this time to consult your local garden centre or nursery to select some drought-tolerant plants that will do well in your gravel garden.
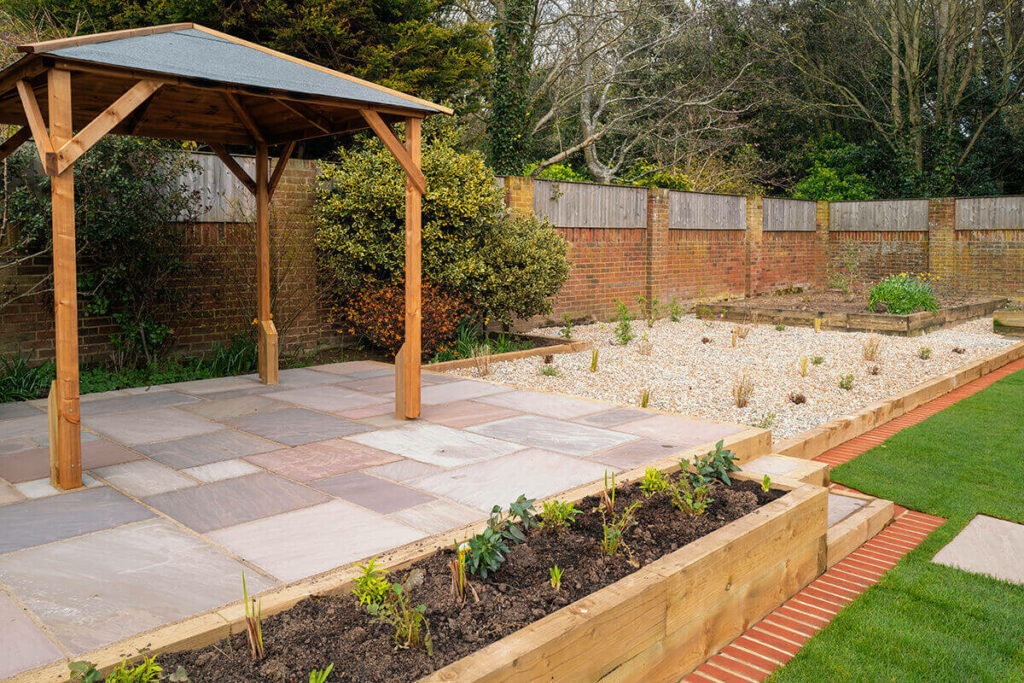
- Before adding plants to your garden, install decorative features such as lighting, large rocks, statues, fountains, and seating.
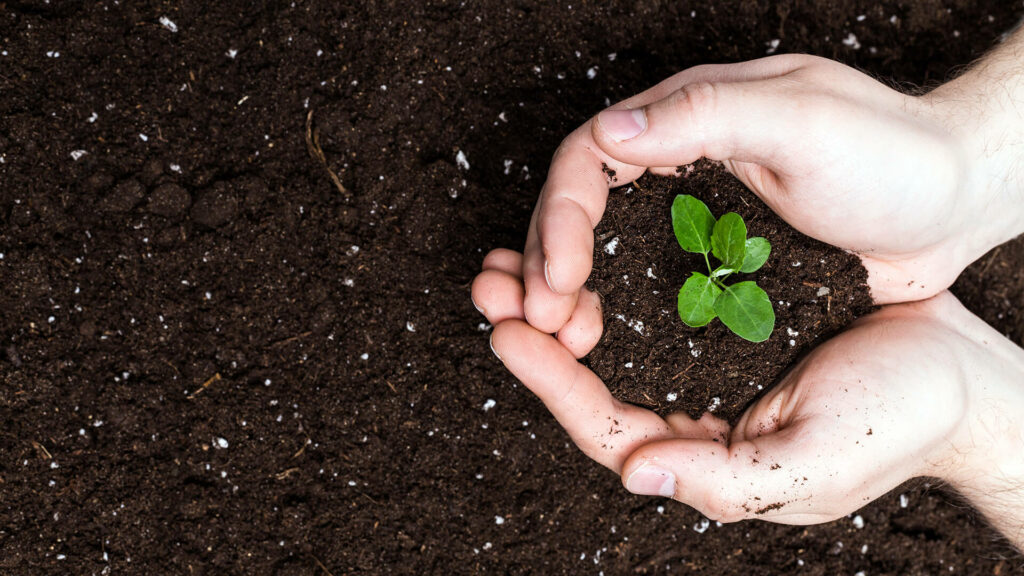
- Using your hands, remove gravel from locations where your plants will go. When removing plants from pots, gently separate the roots and shake off as much soil as possible. Set the plants into the holes with the crowns just below or flush with the surface.
- Last but not least, water your plants daily for the next several weeks until the plants are rooted in them, then water weekly for at least the first year. After the plants are established, they should be able to thrive on rainfall alone. You would still have to remove weeds, and debris, and prune from time to time, but not nearly as often as a traditional garden or lawn.
Summary
Contrary to what the name suggests, a gravel garden can very well consist of a variety of plants and colours, and is a great choice for those looking for a low-maintenance landscaping option, or something that will set their home apart from the neighbours. If you live in Regina or the surrounding area and would like to purchase the aggregate required for this project, please click the button below to contact us for a quote.