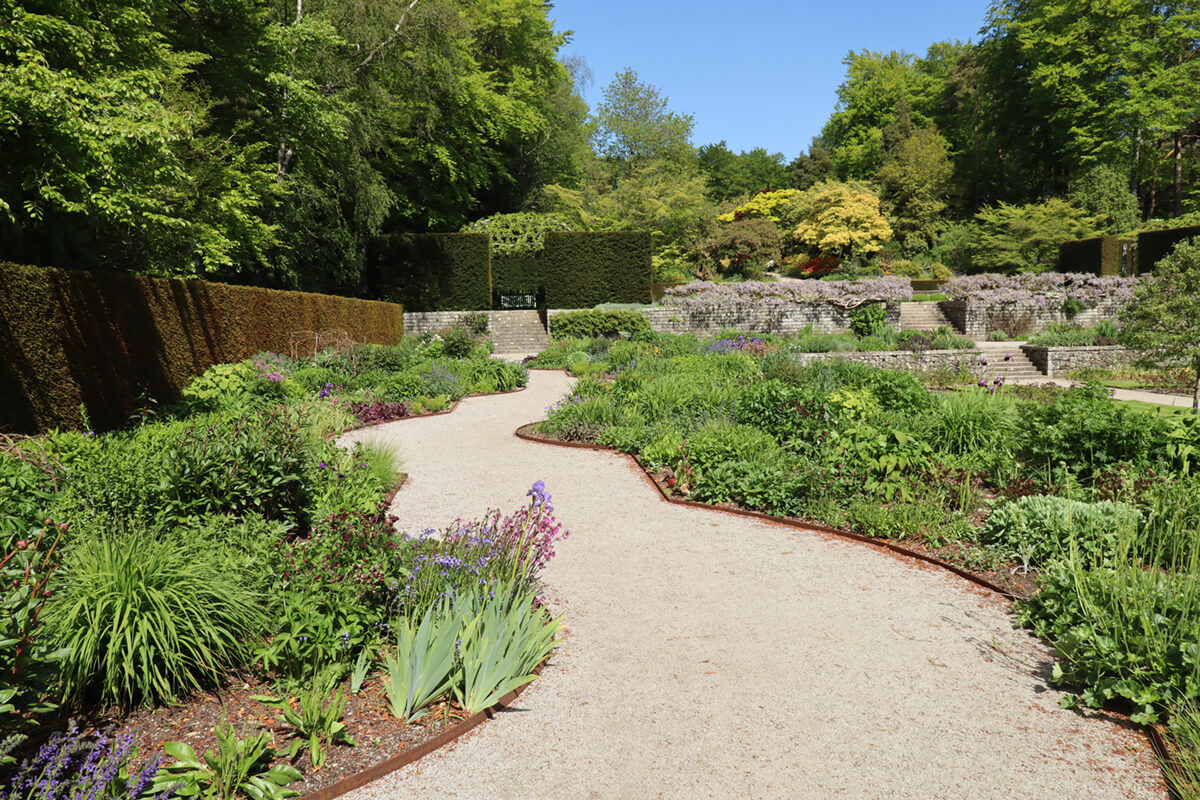
Putting in a gravel path can be a cost-effective way of providing access to your garden or yard while maintaining a natural look. It’s a relatively easy landscaping project that you and your family can undertake over a weekend and requires little maintenance afterward. However, there is still some prep work involved, which we will cover step by step in this article.
Why Gravel?
In addition to its cost-effectiveness when compared with alternatives such as paver stones, gravel’s unique texture, and colour give it an organic look that will never go out of fashion. It is also easier to make an irregularly shaped garden path out of gravel than bricks, as cutting would be required. Another benefit is that it’s great for colder climates like in Saskatchewan, where the ground goes through many freeze-thaw cycles yearly, which could potentially make paver stones unlevelled. The best part is that it’s an easy DIY project that does not require a lot of tools, precision, or experience.
Gravel Path Prep Work
Before laying your gravel path, you’ll first need to design the pathway and calculate how many materials you’ll need. There are several ways to mark the location and shape of your pathway, but the easiest is to use marking paint. Once it’s marked, you can calculate how much material is required. You’ll need 2 inches of gravel and 2 inches of crushed stones and crusher dust when combined and compacted. You’ll also need landscaping fabric and your choice of edging, metal edging, treated lumber, stones, or bricks. For an irregularly shaped pathway, divide it into sections to calculate how many yards of aggregate you’ll need using our landscaping calculator. If the location of your pathway isn’t currently graded the way you’d like, this is the opportunity to do so.
Start Digging
Even though you won’t be excavating very deep into the ground, it’s still best to call before you dig. When ready to start digging, remove any existing vegetation, dig 4 inches down within the pathway boundary with a square shovel, and level the soil with a rake. Lastly, before laying the gravel path, use a hand tamper to compact the soil. Depending on the type of edging you choose, you might install it now or wait till the base is laid. Remember that the edging needs to be at least 1/2 inch higher than the gravel path so it does not spill over.
Laying the Gravel Path
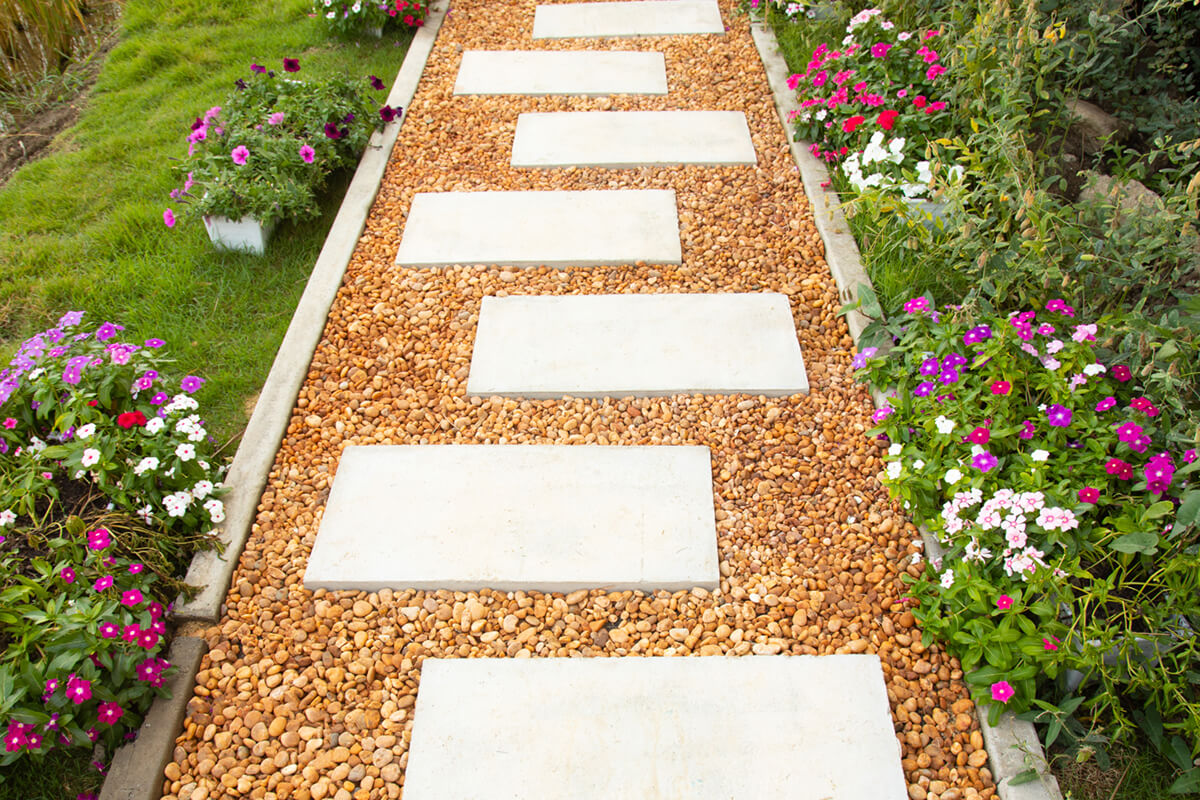
Start by adding about 2.5 inches of crushed stones and crusher dust to the trench you dug. Rake it level, and compact it down with the tamper to a total depth of 2 inches. After that, cut and lay the landscaping fabric. You’ll want 4 to 5 inches of overlap between pieces. This is crucial as it minimizes weeds’ growth while allowing moisture to pass through. Use pins or spikes to help hold the fabric down. If you haven’t installed the edging, install it over the fabric. Once the fabric is laid, you can fill the path with 2 inches of gravel. If you’d like to incorporate stepping stones into your design, lay them before filling the path.
Choosing the Right Gravel
When considering which type of gravel to use for your path, you’ll need to consider several factors, such as its size and appearance. Smaller gravel is easier to walk on, so pea gravel is the most common type for pathways. As for appearance, it’s best to look at the product in person. If you live in Regina or the surrounding area, you can visit our office to look at some samples or reach out to us to help you choose the right product.
Maintaining Your Gravel Pathway
Even though gravel pathways don’t require much maintenance, you should still maintain them from time to time. This involves removing debris, and weeds, raking the pathway to keep it level, and ensuring the edging is still in good condition. Occasionally, you may have to add some new gravel as existing ones spill over or if the ground settles.
Summary
A gravel path can be a great addition to your garden, bringing a new dimension to the space and improving its overall look. Most importantly, it does not break the bank or your back compared to other alternatives. When finished, you’ll have relatively low maintenance access to your garden while creating an attractive feature.